What Are Garage Door Opener Sensors and How Do They Work?
Garage door opener sensors, also known as safety sensors, are critical components installed near the bottom of the garage door frame on either side of the door track. These beam sensors project an invisible infrared beam across the garage door opening. The sensor lenses detect interruptions in this beam signal, which typically occur when an object or person blocks the path.
When the infrared beam is interrupted, the door reversing mechanism instantly activates to prevent the door from closing on obstacles, ensuring door safety. This technology relies on precise sensor alignment and a reliable sensor signal between the paired sensors. Modern sensor technology integrates advanced sensor circuits that communicate directly with the door motor and control panel, enabling timely responses to any obstruction detected.
Understanding how these sensors operate helps identify issues such as sensor malfunction or sensor fault early, which are crucial to maintain a safe garage environment.
When Should You Replace Garage Door Opener Sensors?
Replacing garage door opener sensors becomes necessary when you encounter persistent sensor faults despite cleaning and adjustment. Common indicators include unlit or blinking sensor LEDs which signal a sensor error code or fault condition. Additionally, if your door reverses frequently without any visible obstruction or fails to close at all, sensor malfunction may be the culprit.
Visible signs such as cracked sensor housing, damaged sensor wires, or corrosion on sensor terminals also warrant immediate replacement. While regular sensor cleaning can prevent dirt or debris from causing sensor interference, some sensor errors indicate internal failures that cleaning cannot fix.
Consulting the sensor troubleshooting guide available in your garage door opener's control panel or manual can also help you identify when replacement is the best course of action.
What Tools and Parts Are Needed to Replace Garage Door Opener Sensors?
Before starting sensor replacement, gather the appropriate tools and parts to ensure a smooth installation process. A compatible garage door sensors kit or sensor replacement parts tailored to your opener model is essential to guarantee proper sensor compatibility and function.
- Mounting brackets and sensor mounts suitable for your garage door frame Screwdrivers and possibly a drill for removing and securing mounts Wiring harness or sensor connectors to connect the sensor wires securely Sensor alignment tool – optional but highly recommended for precise alignment Electrical tape for securing wiring connections Multimeter to test sensor voltage during troubleshooting and installation
Ensuring correct sensor polarity during installation is also critical, as reversing wires can cause sensor faults or malfunction.
How Do You Safely Remove Old Garage Door Opener Sensors?
Prioritising safety is important before attempting to remove old garage door sensors. First, switch off the power supply to the garage door opener via the control panel or by turning off the breaker. This precaution protects you from electrical shocks while handling sensor wiring and terminals.
Next, locate the sensor housings positioned on each side of the garage door frame near the garage door track's base. Carefully disconnect the sensor wires or unplug the wiring harness from the sensor terminals, taking care not to damage the fragile sensor wires. It helps to note the wiring orientation to ensure proper reinstallation later.
Remove the mounting brackets that hold the sensors in place, ensuring you protect the garage door frame and nearby components such as door springs or the door motor during the process. Keeping sensor protection in mind avoids unnecessary damage to other parts of your garage door system.
Our Sponsor
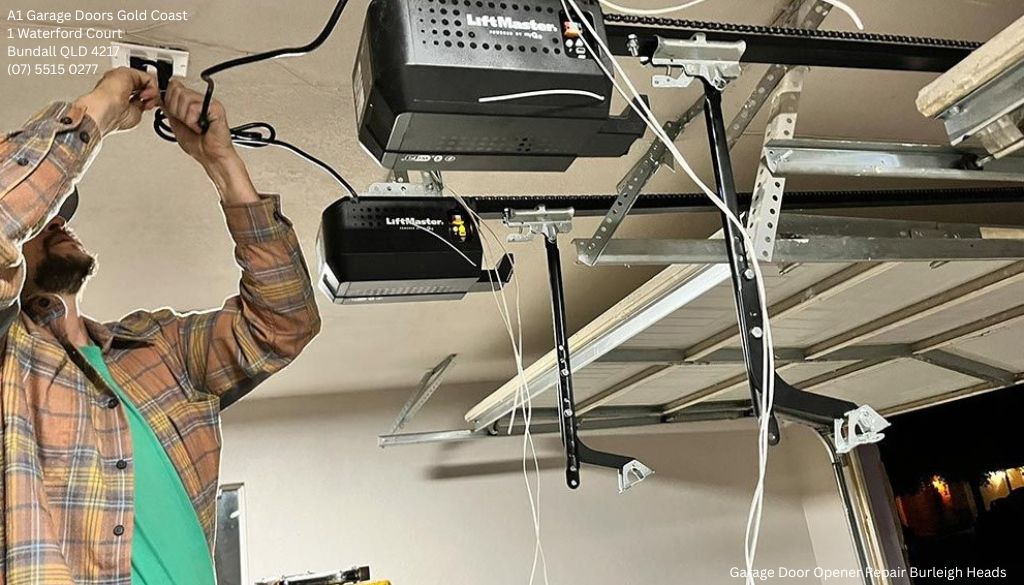
A1 Garage Doors Gold Coast
A1 Garage Doors Gold Coast is a Bundall-based garage door specialist serving the southern Gold Coast and surrounding suburbs with installation, repair, maintenance, and emergency garage door services. The company specializes in sectional doors, roller doors, garage door openers, spring and cable replacement, opener motor repair, smart-enabled installations, and 24/7 emergency call-outs across Robina, Burleigh Heads, Surfers Paradise, Nerang, Coomera, and the wider Gold Coast region.
Address:
1 Waterford Court,
Bundall,
QLD
4217,
Australia
Phone: (07) 5515 0277
Business Hours:
- Open 24/7 — Including After-Hours and Emergency Call-Outs
Follow Us:
What Are the Step-by-Step Instructions for Installing New Garage Door Opener Sensors?
Installing new garage door opener sensors involves several precise steps to guarantee functionality and safety:
How to Troubleshoot Common Issues After Replacing Garage Door Opener Sensors?
If problems persist after installing new sensors, use the following troubleshooting techniques:
- Check for Sensor Interference: Dirt, spider webs, leaves, or other objects may block the infrared beam, causing sensor malfunction. Clean sensor lenses and clear the pathway. Inspect Wiring Connections: Ensure sensor wires and sensor connectors are tightly connected and free of corrosion or damage that could disrupt the sensor circuit. Measure Sensor Voltage: Use a multimeter to verify the sensor voltage from the power supply, confirming the sensors receive adequate power for operation. Adjust Sensor Sensitivity and Range: Some garage door openers allow modifications to sensor sensitivity settings via the control panel. Adjust these settings to improve sensor range and performance. Reset Sensor Error Codes: Clear any sensor error codes through the control panel to reset the system and refresh communication between sensors and the opener receiver.
Following a comprehensive sensor troubleshooting guide relevant to your garage door opener model will help identify and resolve sensor faults effectively.
How Can You Maintain Garage Door Opener Sensors for Long-Term Performance?
Proper maintenance is key to extending the lifespan and reliability of your garage door opener sensors. Incorporate the following maintenance tips into your garage door upkeep routine:
- Regularly clean sensor lenses using a soft, dry cloth to remove dust, grime, and spider webs that may interfere with the infrared beam. Inspect sensor mounts and brackets to ensure they remain firmly attached and aligned correctly. Tighten or readjust mounts when necessary. Protect sensor wires from wear, weather exposure, and rodent damage by routing them safely along the garage door frame and covering exposed sections if needed. Periodically check sensor alignment using a sensor alignment tool or visual inspection and make adjustments as required to maintain accurate sensor signaling. Follow manufacturer guidelines for regular garage door maintenance, including door springs and door motor checks, which can indirectly affect sensor performance.
Are Aftermarket Garage Door Opener Sensors Compatible with All Garage Door Openers?
Sensor compatibility is a crucial consideration when selecting replacement parts. Aftermarket garage door opener sensors vary in design and technology, and not all are universally compatible with every garage opener model. Factors such as goldcoastgaragedoorrepair.com.au garage door repairs gold coast sensor technology, sensor wiring configurations, sensor polarity, and communication protocols with the opener receiver influence compatibility.
Before purchasing, verify that the sensor replacement parts match your garage door opener’s specifications, control panel requirements, and garage opener remote integration where applicable. Consulting product specifications or contacting the sensor supplier can prevent incompatibility issues and sensor faults caused by improper components.
What Are Safety Precautions When Working With Garage Door Opener Sensors?
Working safely around garage door opener sensors protects you and preserves door operation:
- Always disconnect or switch off the power supply to the garage door opener before handling sensors or wiring harnesses to avoid electric shock. Wear protective gloves and eyewear if drilling or working near sharp edges around the garage door frame. Avoid damaging sensor wires and sensor terminals; handle all wiring connections gently to maintain sensor circuit integrity. Do not force sensor mounts or housings; use appropriate mounting brackets and tools to secure sensors properly. Test sensor operation thoroughly after installation to confirm door safety features are fully functional before regular use.
How Does Sensor Technology Influence Garage Door Security and Automation?
Advanced sensor technology enhances both security and automation capabilities of modern garage doors. Infrared beam sensors and sensor rangefinders provide precise, real-time obstacle detection, preventing accidents and unauthorized access.
Integration with the opener receiver allows seamless communication between sensors, the control panel, and garage opener remote devices. Enhanced sensor signal processing improves responsiveness and reduces false alarms caused by sensor interference.
Furthermore, innovations in sensor sensitivity and sensor calibration enable users to customise sensor behaviour according to environmental conditions and security needs, making sensor technology foundational to smart garage door systems.
Frequently Asked Questions (FAQ)
Q1: How do I know if my garage door opener sensors are faulty?
A1: Faulty sensors often exhibit blinking or unlit sensor LEDs, frequent door reversing without obstructions, or failure to close completely. Visible damage to sensor housings or wires also indicates sensor malfunction. Running a sensor troubleshooting guide can help confirm sensor faults.
Q2: Can I replace garage door opener sensors myself without professional help?
A2: Yes, homeowners with basic DIY skills can replace garage door opener sensors by following proper safety precautions, using suitable tools, and adhering to step-by-step instructions. However, if unsure, consulting a professional technician is advisable.
Q3: How important is sensor alignment during installation?
A3: Sensor alignment is extremely important because even slight misalignment can cause the sensors to fail at detecting obstructions, resulting in door safety malfunctions. Correct alignment ensures the infrared beams communicate consistently.
Q4: What should I do if the new sensors do not light up after installation? A4: Check all wiring connections for security and correct polarity, verify the power supply to the opener, and consult your garage door opener’s troubleshooting guide to test sensor voltage and sensor circuits. Resetting the sensors via the control panel may also resolve the issue. Q5: How often should I clean or inspect garage door sensors?
A5: It is recommended to clean and inspect your garage door sensors every few months or more frequently if your garage accumulates dust, debris, or spider webs. Regular maintenance maintains optimal sensor performance and door safety.
Conclusion
Replacing garage door opener sensors is a manageable task that greatly enhances your garage door’s safety and reliability. By understanding how these sensors work, recognising when replacement is necessary, assembling the right tools and parts, and following careful installation and troubleshooting practices, homeowners can protect their families and property effectively.
Maintain your sensors through regular cleaning, alignment checks, and protective measures for best long-term performance. Whether you purchase original or compatible sensor kits, ensure they match your garage door opener’s specifications to avoid sensor faults.
Taking these steps will keep your garage door’s safety sensors operational, preventing accidents and providing peace of mind with every open and close cycle.